|
After creating our rough cut, showing our teacher and peers and taking on board all of their feedback we finalised our video and this is the final product. Enjoy!
0 Comments
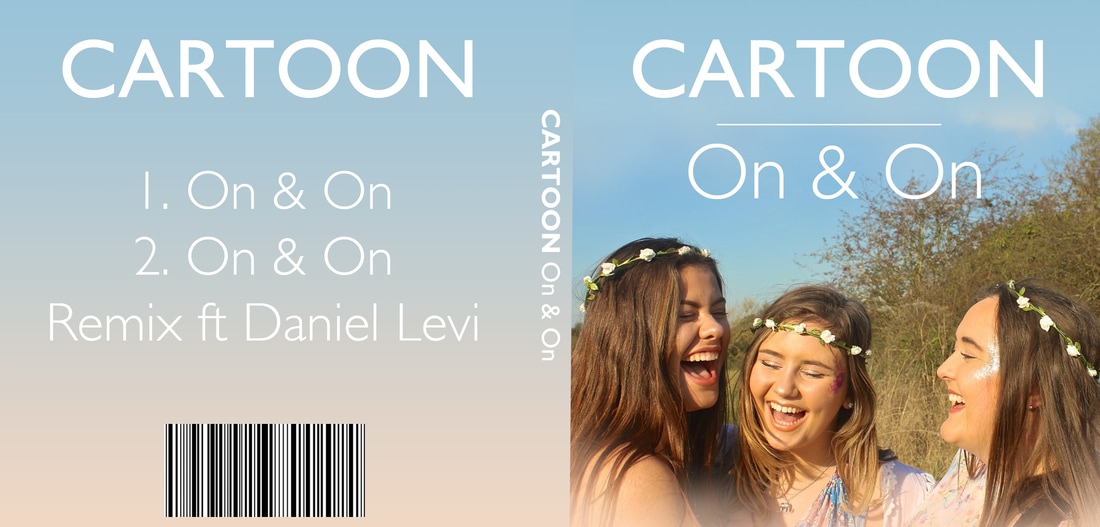 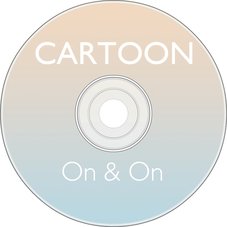 We made our CD cover using photoshop in a very similar way to our poster. Firstly we inserted the photo of us all onto the CD cover template, moved it around so we all fitted in at the bottom. We used the text tool to type the artist name and song name onto the front and also used it to type the number of songs onto the back and the spine. We used the gradiant tool for the back to create the blue background merging into the nude. For the barcode we just googled the image and copy and pasted it onto photoshop. Creating our CD was very easy, we just used the gradiant tool on photoshop to create the background colour of the blue and nude and then just used the text tool to type our artist name and song. We then moved them around until we was happy with the positioning.  To make our poster we created an A4 document in photoshop, inserted the picture we took with Ginas professional cannon camera when filming and paste it in the centre and used an eraser tool to take away the sharpness from the edges and then filled in the top with blue to merge with the blue sky and filled the bottom with a neutral nude colour. We used the text tool to type the band name and the name of the single and moved it into the top centre as we believed this looked best and typed the release date at the bottom of the poster to balance it out. We then used the line tool to create the thin line between the artists name and song. |
AuthorWrite something about yourself. No need to be fancy, just an overview. Archives
May 2017
Categories |
- Welcome
- AS Level Blogs
- A2 Level Blogs
-
Useful Websites
-
AS EXAM INSTITUTIONS
- G322B1
- Digital Distribution
- Neurocinema and Focus Groups
- Intro to Audiences and Institutions
- Distribution
- Technological Convergence
- Marketing and Technological Convergence by Catilin
- Cross Media Convergence Revision
- Working TItle and Paul
- Pearl and Dean
- Understanding the Film Industry
- Media Ownership
- Documentary about Digital Grading in Lord of the Rings
- Marketing and Technological Convergence
- Benefits of Technological Convergence
- Film Distribution
- Digital Distribution of Film
- Working Title
- Warp Films
- Film Marketing
- Film Marketing
- Marketing and Technological Convergence by Alice and Rosanna
- AS EXAM TV DRAMA
 RSS Feed
